A Step-by-Step Guide on How to Plumb a Water Softener
Installing a large appliance can seem like a challenging task at first. While it’s true that you’ll need a little background knowledge in plumbing and some DIY savvy to install your water softener, the task is simple with the right setup and tools. It’s important to note that houses will vary in setups—installing a unit within an older house might be a more complicated task than a newer home that already has a water softener loop (a pipe that separates your home’s inside and outside water systems). Additionally, if you are simply replacing an older unit, the process will be simpler than a first-time installation.
The tools, extent of plumbing and level of effort will vary depending on these factors. But no matter which scenario you’re in, keeping your water softener’s product manual handy will be one of the most important steps during the whole process. With that said, it’s time to get ready for a successful installation.
Extend the lifespan of your new water softener
No matter your water softener’s grain capacity or manufacturer, adding a bottle of cleaner from Whirlpool into your water softener at recommended intervals will help keep your system running its best.
Whirlpool Water Softener Cleaner
Everything you’ll need for water softener plumbing success
Step 1: Find the right location
- Access to an electric outlet (120v will suffice)
- A sink or drain that will flush away the waste water created in the regeneration process
- Water softener plumbing loop (if your house has one) or a spot between the water inlet and water heater
Note that not every home will come equipped with a water softener plumbing loop, but it comes in handy if you want to keep your home’s inside and outside water separate. This means you won’t be wasting soft water on yard maintenance or other outdoor projects.
If you’ve found the right location for your water softener and have all tools on hand, give the product manual a look-over to make sure your purchase came with all the parts needed. These parts include the bypass valve, clips, clamps, a drain hose and a few others you should verify are present in the softener’s installation kit.
Step 2: Turn off your water and attach the bypass valve
This piece of equipment is included with your purchase and allows you to bypass water to the softener in case it needs maintenance. You’ll want to make sure the bypass valve connections are in line with your existing plumbing.
To install the bypass valve into the water softener, press the bypass valve into the inlet and outlet ports on the softener valve and secure with the two clips.
Step 3: Position your water softener and make connections to the bypass valve
Next, you’ll want to measure, cut and assemble the pipe fittings from the main water pipe to the inlet and outlet ports of the bypass valve. This is a step in which you may need to rely on push-to-connect fittings or flex connectors—these pieces are readily available on EcoPureHome or at any local hardware store and eliminate the need for soldering or specialty plumbing.
The threads coming out of the water softener bypass valve are 1” Male NPT, so any fittings you purchase need to fit this standard. The water softener itself is labeled to help you understand which pipes will connect to the inlet and outlet of the softener.

Step 4: Install valve drain hose and salt storage tank overflow hose
Similar to the pipe fittings, you’ll also need to measure, cut and assemble the drain line. This hose will carry the discharge water your softener produces during the regeneration process and should be placed in a drain, tub, standpipe or sump about an inch and a half above the surface. Follow the same process for the salt storage tank overflow hose. Hose clamps are included in the installation kit to help you secure the hose connection.
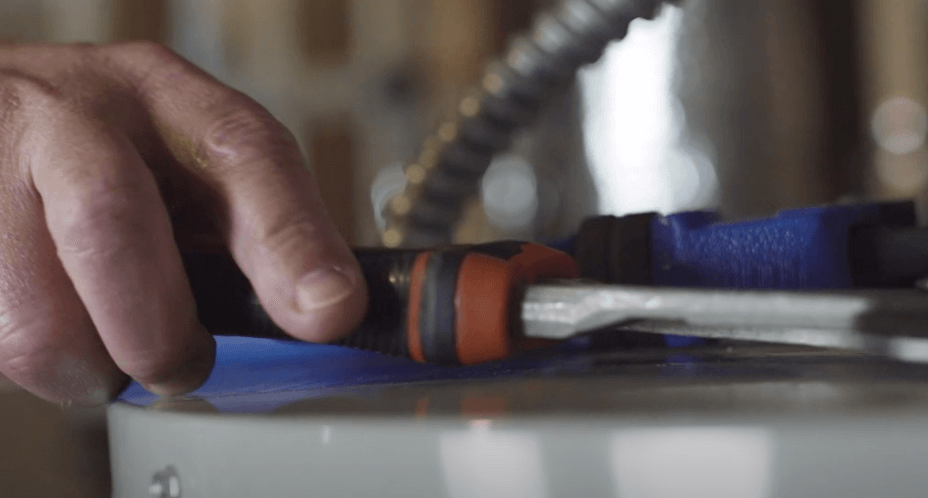
Step 5: Test for leaks
Congrats—you’ve reached the final step in water softener plumbing. Turn on the cold water faucet of the sink nearest the softener. While the water is running, push the bypass valve inward into the bypass position. Then, slowly open the main water line and run the water until there is a steady flow free of air bubbles.
Pull the bypass valve out again so the water can travel back into the softener. After about 3 minutes, run hot water from your faucet for a few minutes until there’s a steady flow. Turn the hot water off, then return to the running cold water and turn that faucet off as well.
Go back to the softener and check for leaks around the clips and fittings. If there are no leaks, you have successfully plumbed your water softener!
For more detailed instructions on plumbing your water softener, you’ll want to refer to your product’s user manual. Be sure to follow all the safety guidelines listed within the manual for an efficient and effective installation.
Keep your water softener running with regular cleanings
Make sure your water softener is working at peak condition by adding cleaner to it every four months.
Shop Now